PS圆形环绕文字制作方法
1、打开Adobe Photoshop,在左边工具中找到【圆形工具】,然后选择上方【路径】;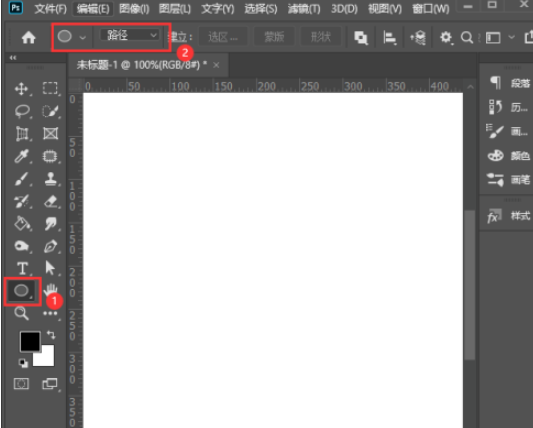
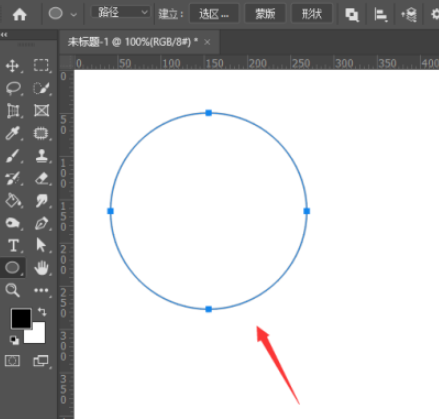
2、我们在画布上先随意画出一个圆形路径;
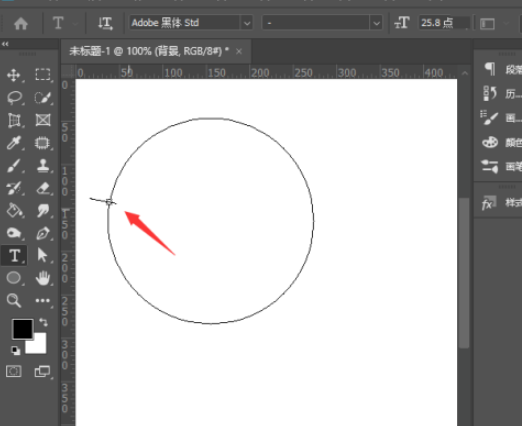
3、然后找到点击左边【文字】,在点击圆形选择路径;
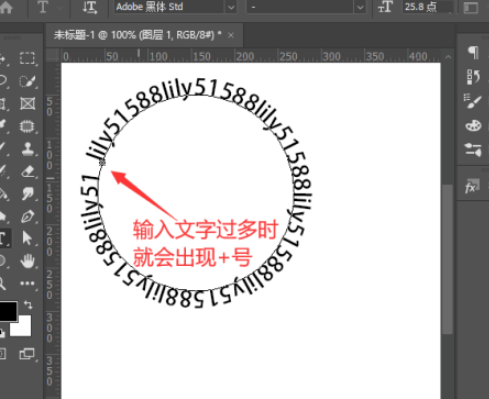
4、输入自己需要制作的文字内容,如果圆形太小,文字太多,就会文字摆放不下,出现+号,导致首尾有空隙;
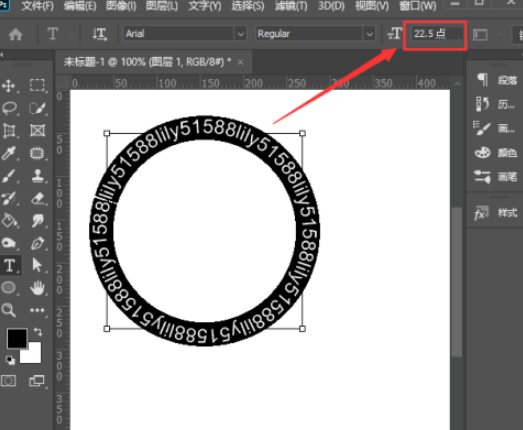
5、将圆形路径上的文字全部选中,调整圆形或者字体大小到合适的效果;
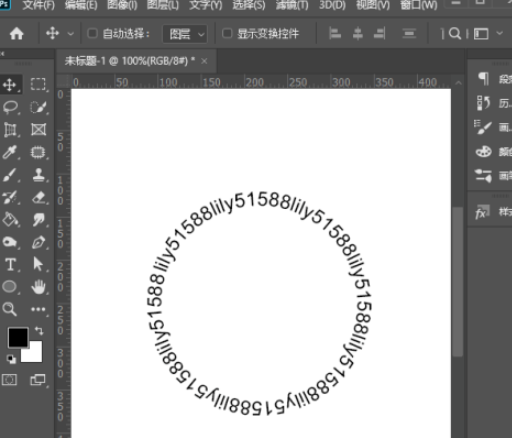
6、最后圆形环绕效果的文字就制作完成了,我们还可以根据需求进行字体、颜色等更换哦!
这个教程非常的简单,没有难度,还不会的朋友可以去试试看哦!